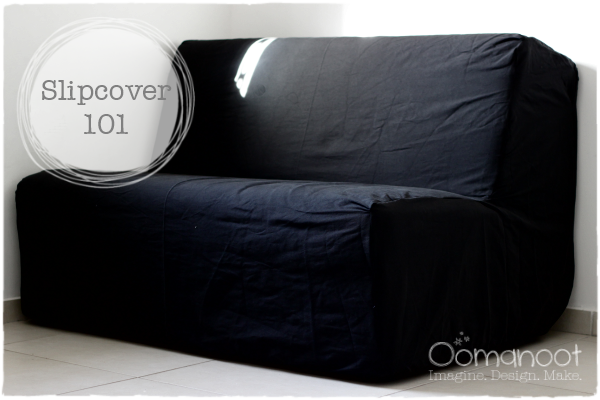
Ta-daaa! The first step of our family room makeover is done! And it “only” took me two weeks of getting in 15 minutes of pinning in here, and 10 minutes of sewing in there… Oh well, that’s how sewing projects happen in this house. V e r y s l o w l y .
This is actually not the first time I’ve made a slipcover for this couch. I will not share the pictures of the old cover, because I find them embarrassing… What was I thinking when I chose that pattern? Ugh. Anyway, I have learned from experience, and this time went much smoother. Much less argggg on the way and much more being happy with the result.
Upholstery projects can be quite intimidating, but a slipcover is a good place to start, and I have some tips for you from my (sometimes bitter) experience.
Materials
- Upholstery weight fabric, enough to cover furniture item (I will explain how to determine the amount of fabric you need in the instructions).
- Matching thread
- 1/2″ wide elastic, enough to surround the furniture item (optional)
- Heavy weight/denim sewing needle
- Scissors
- Seam ripper (you’re going to need it…)
- Tailor’s chalk
- Pins. Lots and lots of pins. Pins will be your best friend during this project. Pin early, pin often – and be careful not to get pricked too much…
Instructions
-
Determine your fabric needs: Measure the widest part of each surface of the furniture item.
Use those measurements to construct rectangles which cover each surface (see image). Once you have calculated the rectangle sizes you will need to cover your item, add 3-4″ margin for error and seam allowance to each measurement.

Sketch the pieces to scale (!) onto a piece of paper (or your computer) and arrange them to fit on your upholstery fabric of choice (see image, which is not actually to scale – I did mine by hand…). This will tell you how much fabric you need to buy. I needed about 5.5 yards of fabric to cover my couch.

Now, go buy fabric and come back for the next step.
-
Cut and construct: Prewash your fabric! I cannot stress this enough. One of the reasons I got rid of the previous slipcover is because it shrank and did not fit anymore. Imagine, all this work, and having to throw it all away because of shrinkage…
Cut your rectangles out of the fabric. Mark each piece so that you will know where to place it (e.g. back, side, arm-rest). Place your fabric piece leaving plenty of allowance on each side and pin to item, straight onto the upholstery, inside out. This will allow you to get the perfect fit, and if your item is not covered with leather or vinyl the pins won’t leave any marks.
After all your pieces are pinned to the couch, start pinning the pieces to each other, as close to the couch as possible (to get a tight fit). Once all of the pieces are pinned to each other, you can remove the pins attaching them to the couch. Using chalk, mark a guideline for sewing where you placed the pins.
-
Sew: Sew fabric rectangles together using pins and chalk as your guide. When you are done, fit the slipcover over the couch and make sure it fits right. If you made a mistake at this stage (and you probably will…), don’t worry about it – use your seam ripper to take out the problematic portion and redo that area.
Cut off extra fabric leaving 1/2″ seam allowance.
Zigzag or serge the edge to prevent fraying.
-
Finish up: Place the slipcover on the couch, inside out. Fold up the bottom and pin to create a neat edge, lined up with the bottom of the couch. This will be our guide for hemming the cover.
One option is to mark 3″ from the couch edge, fold over 1″, fold over again to the wrong side, and make a regular hem. However – from my experience, it never comes out perfectly straight. So, my solution is to add elastic to the bottom of the cover so it will fold nice and snug under the couch, and any inaccuracies will be hidden.
If you choose to add elastic, make a mark 2.5″ from the bottom of the couch. Remove cover from couch and cut off the excess fabric. Place cover back on couch right side out. Fold over 1/2″ and fold over 1/2″ again. Pin in place.
Here’s a cool trick for attaching elastic to the cover without having to thread it into a long-long-long casing: Take your elastic and stretch it around the couch, tie the ends together to hold it temporarily. Make sure it’s quite stretched, because otherwise it will not hold the bottom of the cover in place when done.
Pin the elastic straight onto the hem you folded over before. The elastic is stretched, so you should have no trouble pinning it evenly onto the fabric.
Place pins quite close together so they will hold the stretched elastic in place. Remove the cover from the couch and sew elastic onto the hem using a zigzag stitch, stretching the fabric together with the elastic as you go. When you release the fabric, the elastic will contract perfectly even with the fabric (no stretching and pulling the elastic inside a casing…).
Place finished cover on the couch.
Enjoy!
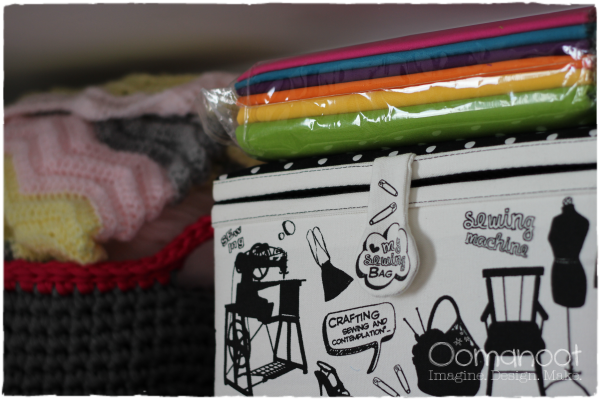
Next step: Throw and floor pillows from these beautiful fabrics. Let’s see how long it takes me to get around to making them…


