It’s summer, and we go out to the park almost every day. My oldest hooks up with other kids and runs around and up and down the slides, but my little one still needs me to sit with her on the grass. I used to have a water proof blanket we got as a gift from work at some point, but it disappeared a while ago and I haven’t replaced it. Until now. And what could be better than a matching tote for carrying all the outing must haves?
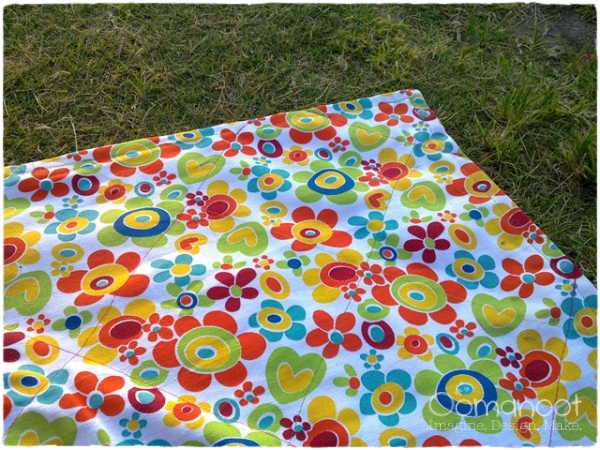
Before you get started, decide the size you want your blanket to be. If you want your stitched diagonal squares to be symmetrical in all directions, you should take this into account in your calculations. I didn’t and was sorry later… I used my ruler’s width as the size of the squares, it makes it much easier to mark and make sure they’re straight and all the same size.
If you care about it being symmetrical you can do the following calculation: So, let’s say my square size is X, I’m using 8th grade math to figure out the diagonal size: X^2+X^2=Y^2 ==> Y=1.41X. In other words, multiply X by 1.41 to get the length of the of the diagonal. The length and width of the blanket should be some product of this number (it doesn’t have to be the same for both).
Materials
- Canvas pieces for top and bottom of the blanket.
- Thread in contrasting color (I used red, yellow, pink and green, but you could use 1 or more)
- Fabric marker
- Regular sewing notions
Instructions
-
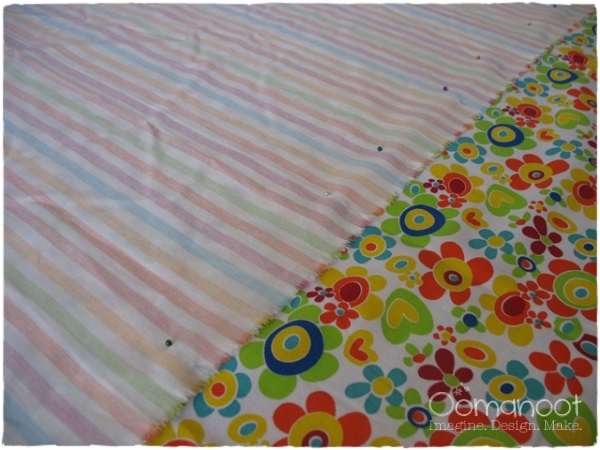
Line up the top and the bottom pieces, fronts facing, and pin. I asked for the same size top & bottom, so something went wrong here… Oh well, whatever (never mind), I’ll use the extra fabric for the tote I’m planning…
-
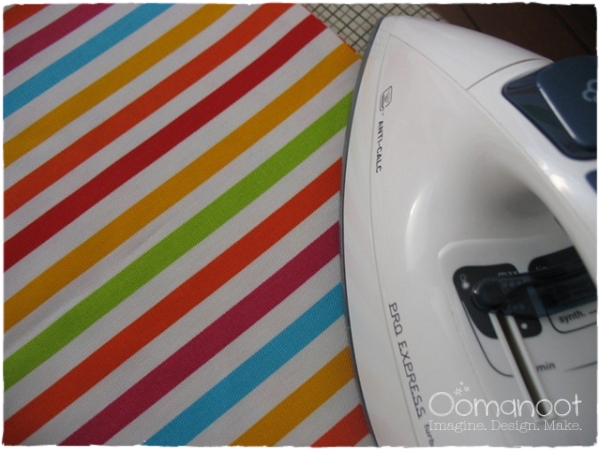
Sew around, leaving a 10 cm opening for turning inside out. Turn the blanket inside out and press.
-
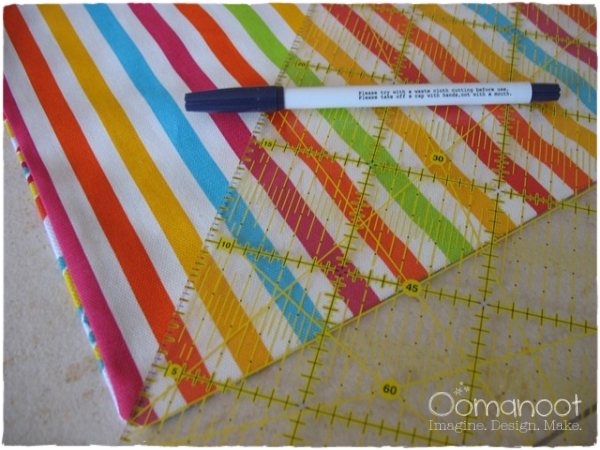
Starting at one corner, use the 45 degrees marker on your ruler to mark the first diagonal line. If you don’t have a quilter’s ruler, fold the corner in half diagonally for the first mark. Using your fabric marker, mark parallel diagonal lines across one edge of the blanket and then the other edge. Now, starting at the corner adjacent to the corner you started at, do the same for the cross lines.
Sew all the lines you marked using contrasting thread. Top stitch around the entire blanket, making sure to close the gap you left for turning the blanket.
Pause to admire your work.
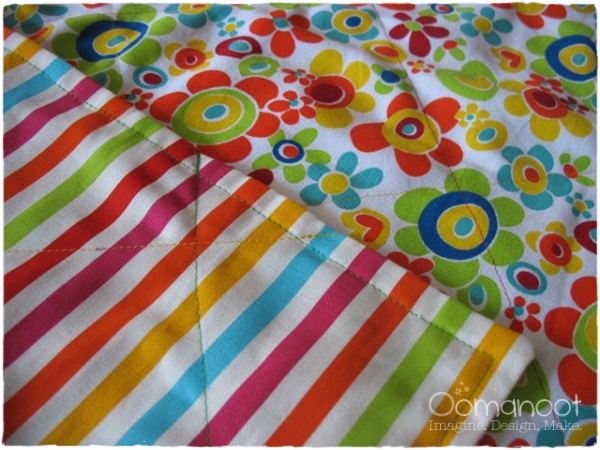
Take a break while you wait for the second part of the tutorial (coming soon) – for making a matching tote with a zipper pocket, for carrying the blanket you just made to the park!
Update: You can see the second part of the tutorial here.
[This pattern is for personal use only. Items made with this pattern may not be sold without my explicit permission. Please read the Terms & Conditions for further details.]










[…] we made such a nice blanket, we need a tote to carry it and other essentials (I never leave the house without baby wipes […]
[…] we made such a nice blanket, we need a tote to carry it and other essentials (I never leave the house without baby wipes […]